How To Convert a 4Runner To Micro Camper

The 2000 Toyota 4Runner is a perfect blank canvas to build out a micro camper. My wife and I wanted to extend our camping season into the winter months without being in a tent in under 20 degree weather. Not only was the truck comfy, we had a great time with the build-out.
We made it very comfortable our sleeping bags, an egg crate mat, two blankets, a comforter and we brought our pillows and our black lab Mamut so it was nice and toasty! As if that wasn’t enough, we used reflectix insulation cut out for all the windows. We didn’t need to adhere or fasten them to the windows at all. We just made them a little bit bigger than the window so we can tuck them into the rubber seals.
After viewing dozens of customized micro-camper conversions on Youtube, it true that every build must be unique to your needs, design, intended use, abilities and budget. For example, I would have loved to build drawers on slide rails that pull out from under the platform; however, it wasn’t in my timeline or budget so I bought inexpensive bins and built the base so that I could add drawers later.
It’s also worth a careful thought on how you use your vehicle day-to-day. Our truck is mainly used to lug around people and gear, so we were okay with having the platform be a permanent fixture as long as we could still put up the back seats. The hidden storage underneath is perfect for stashing valuables (or just about anything) when we’re street parking around San Francisco, which is a hotbed for break-ins and theft.
I’ve put together a video showing the features and listing out all the steps I took along the way. Below, you’ll see the tools needed for the job, shopping list, and important measurements.
Part 1 Video
Part 2 Video
Here’s a second video I put together to hopefully answer some of your questions that have been coming up about the build. If you still have any inquiries, just drop them in the comment box below or send me an email.

Tools
Product recommendations are linked below:
Circular Saw (or table saw if you have it)
(2+) Clamps
Marker/Pencil
Metric wrench set (to remove seat parts)
Shopping List
(2) ” 4’x8’ 3/4” plywood sheets sanded, NOT pressure treated.
Screws: 1-1/4” & 2”
(1) 1-1/2” x 1-1/2” x 50-1/2” square wood pole for middle/joint
(2) cans spray adhesive
(2) storage bins 18W x 8H x max 39”L (mine was 33”L)
Battery powered lights for some fun
(2) continuous hinges 1-1/16” x 48”
(2) cans black spray paint, suitable for plastics
Image Gallery


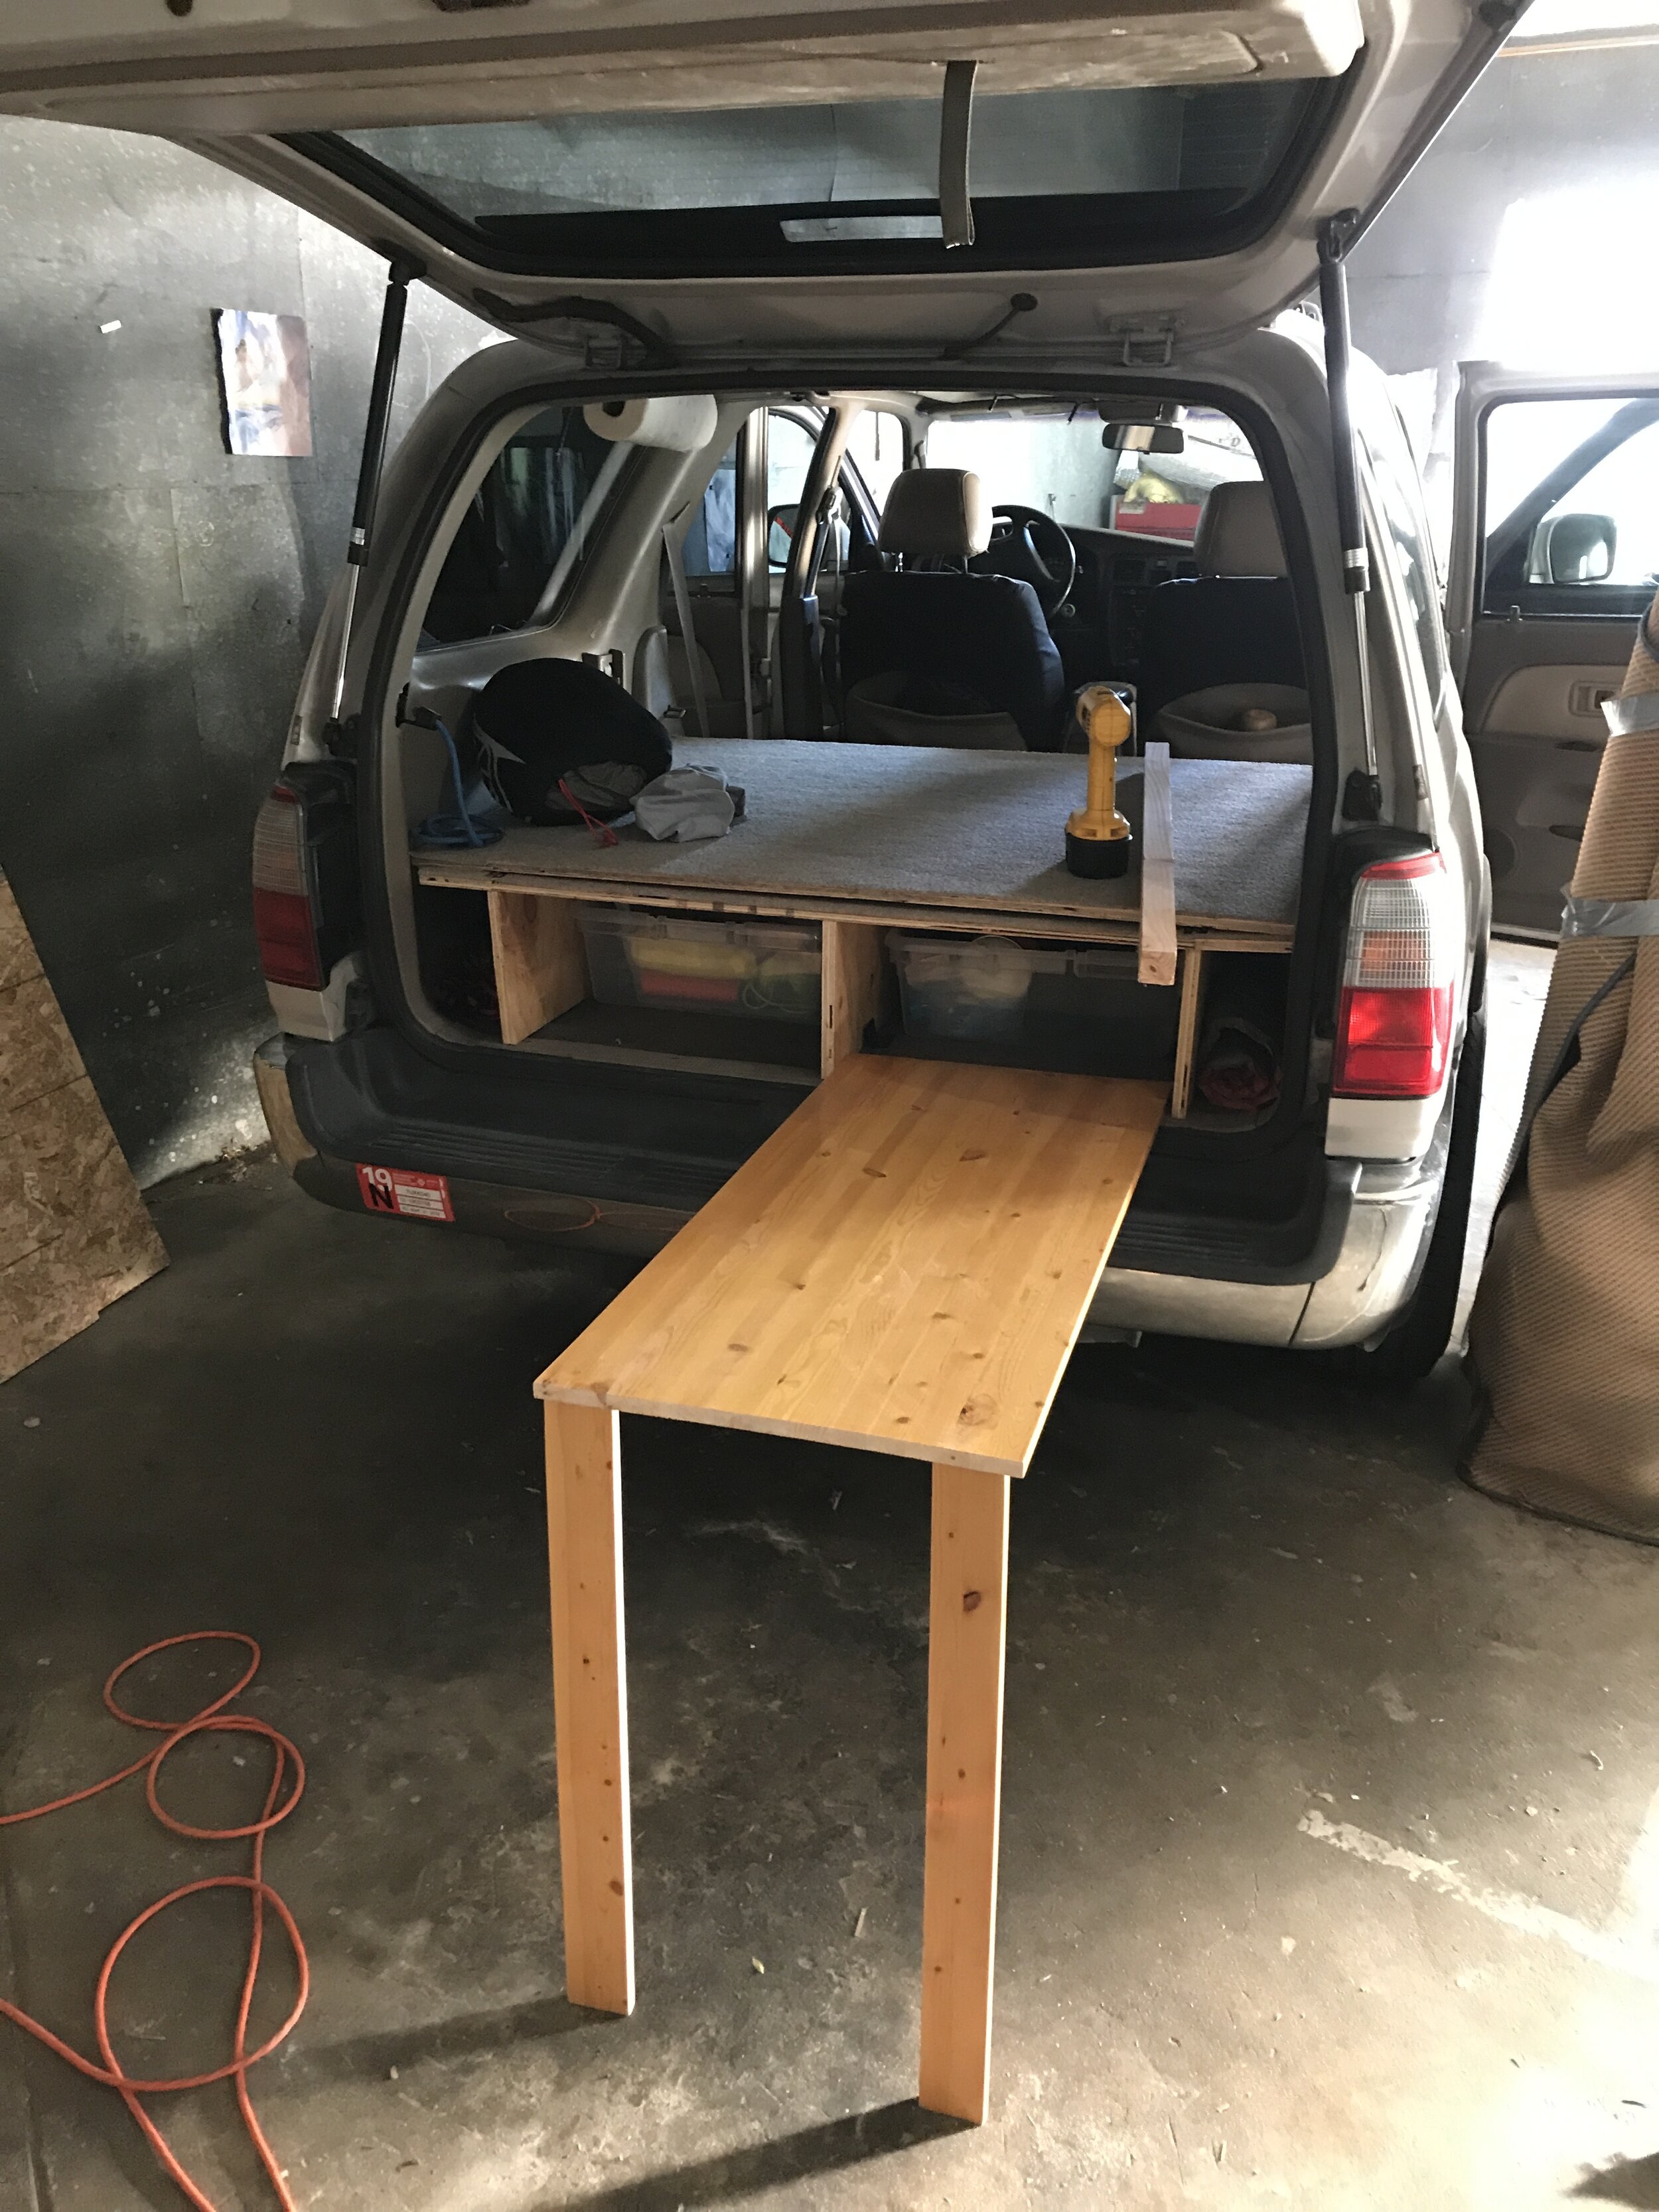


If you have any further questions on how I built out this micro camper, please leave a comment below and I’ll get back to you. Good luck on your project! Be safe and have fun!


